54 Gertie
13 years ago

FACOM........yeah that's what i'm thinking..

Horizontal 'h' section's nearly 5mm bigger - gertie, it's a cumberland! :shock:

Removable rear valance - handy just pops in the bin.

Someone on here recommended them............ :evil:

So where do I get the good ones from? or are they only early (no exhaust cut-outs).

Low Speed Dubbin wrote:


Sorry, I did have a good chuckle at those photos. :rofl:

Wolf in Sweden does very nice valences, not cheap mind.

https://www.wolfparts.com/shop/product_info.php?cPath=21&products_id=80 

He does do them with cutouts, I'm sure, best e-mail him as I cant see them on his website.

:smile:
William
Sunroof53
13 years ago
A few more panels arrived today.This time the bumper mounts from Hookys.


UserPostedImage

UserPostedImage

55Kab
13 years ago
I can see the same problem I had with mine Mike.

I don't know how bad your OCD is but to be 100% accurate the bottom of the bumper hanger should be in line with the bottom of the inner wing. :wink:

Robb
13 years ago
hey, at least you can get them Martin, 65-67 correct rear bumper hangers are non-existant :d

keep the work going, one of my favourite oval colours this! :thumbup:
55Kab
13 years ago

65-67 correct rear bumper hangers are non-existant

Robb wrote:


wassamatter...you found some didn't you? :wink:

Robb
13 years ago
oh yer, true :lol:
Sunroof53
13 years ago

I can see the same problem I had with mine Mike.

I don't know how bad your OCD is but to be 100% accurate the bottom of the bumper hanger should be in line with the bottom of the inner wing. :wink:

55Kab wrote:


OCD has been tempered slightly with age but i dropped the Baby left the wife and had a quick check on my car as it still has part of the original mount there .:d

Check the picture
UserPostedImage


There are some dimensional differences but the position of the mount on the panel is good. I need to strip a bit more filler off before i do a sketch to show where the problem is .
The lower wing mounting bolt is 5mm too low and the pitch is 4mm too close together .It looks like your mount was moved to align with the bolt holes but i think i will just move the weld nut .It probably would'nt be a problem as there is so much movement in the wing holes.

I am busy for a few days but i will do a sketch to clearly show what i mean.I have to say that they are still an exellent panel and very happy with them.

Mike

vintagebug
13 years ago
Hi Mike,

Could you advise me if yor '53 has aluminium-coated rear light wiring looms? I'm having new looms made up for my Oct '53 & I don't know whether they should be alu-coated or vinyl-coated.
Thanks!

Anyone else who's got a '53 please also answer here if poss:-

https://forums.pre67vw.com/default.aspx?g=posts&t=18061 

Sorry to hijack your thread Mike... :oops:


Dave
"When I read about the evils of drinking, I gave up reading"
Sunroof53
13 years ago
All the wiring on my car is pvc ,I think the type you are talking about ended before 53 as i have seen a few zwitters that have pvc also.
Sunroof53
13 years ago
As for the bumper mounts i have dissected them as there are sevaral bits that are different .They would probably be ok as they were but both the mount and the wing holes are out of position to what i have on my oval.The mount is also a bit longer than an oval one, but its not a big deal for anyone wanting to buy one .They are still the best ones at the price so i cant complain.
When i am not so busy i will do a sketch so its a bit clearer.

Mike
Sunroof53
12 years ago

Some updates ,I have disected the bumper panels and fitted them but if there is a next time i will go for the wolf ones .I removed the bumper mount from the back panel, welded up all the holes .I then refitted the mount to dimensions i had taken from what was left of the original.
Here is what i had before


UserPostedImage


Looking a little better here
UserPostedImage

UserPostedImage


I have trial fitted the Wolf rear valence and apart from some trimming of the left hand flange(it was longer than the rightside ) it was a suberb fit.Just wish i had splashed out for the bumper mounts to match.

UserPostedImage


Sunroof53
12 years ago
This is the inner part of the valence which you have to remove from an original .I had to buy an old apron from a scrapper just to get this part .It needed some work as part of the flange is missing from where it was chiseled off .

I just cut some 1mm plate to fill the gap ,weld and smooth off with a flap disc.There is a piece below the flange that is also missing but i dont have a reference to make it .
Does anyone have a photo of this bit?
UserPostedImage


Flange welded in but piece below is still missing.:?

UserPostedImage


I also had an unusual visitor in the garden today :shock: :d

UserPostedImage


Sunroof53
11 years ago
I have not posted for a while ,but have been doing some small jobs with what time i have had .I havnt finished welding the rear apron yet as i need to get a side tray blasted.In the mean time i did a bit to the front.

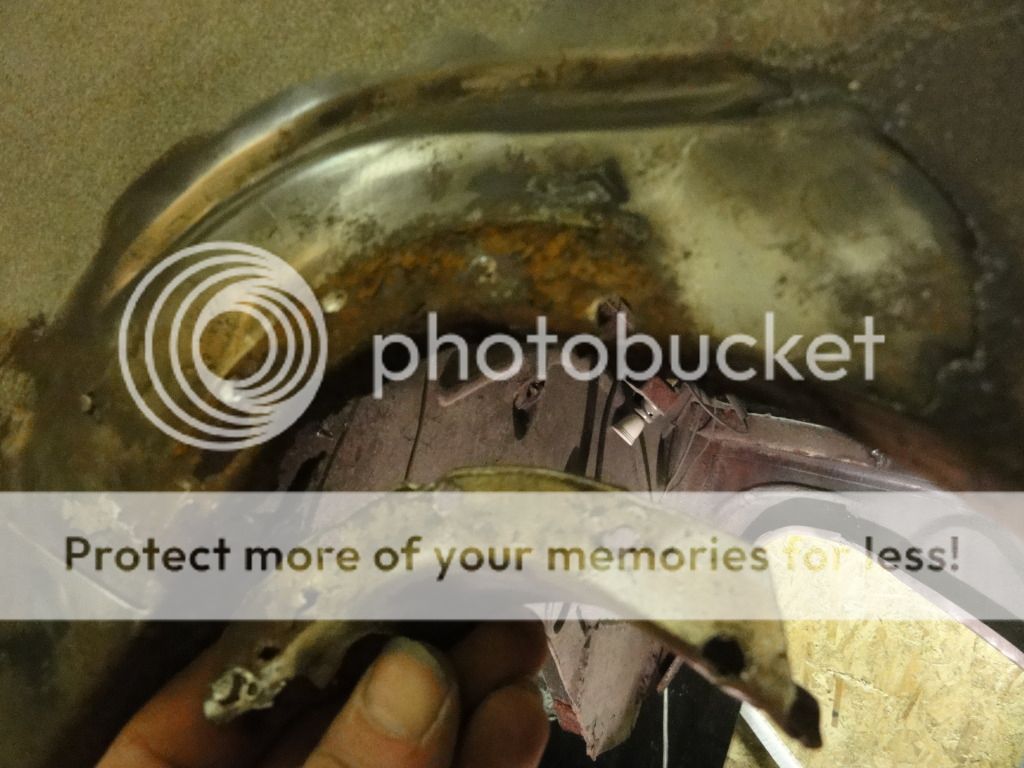
Here is the little strengthener on the inner wing.Bits like these have a habit of looking ok .its only when you remove bit like these you see what going on underneath.
UserPostedImage
UserPostedImage

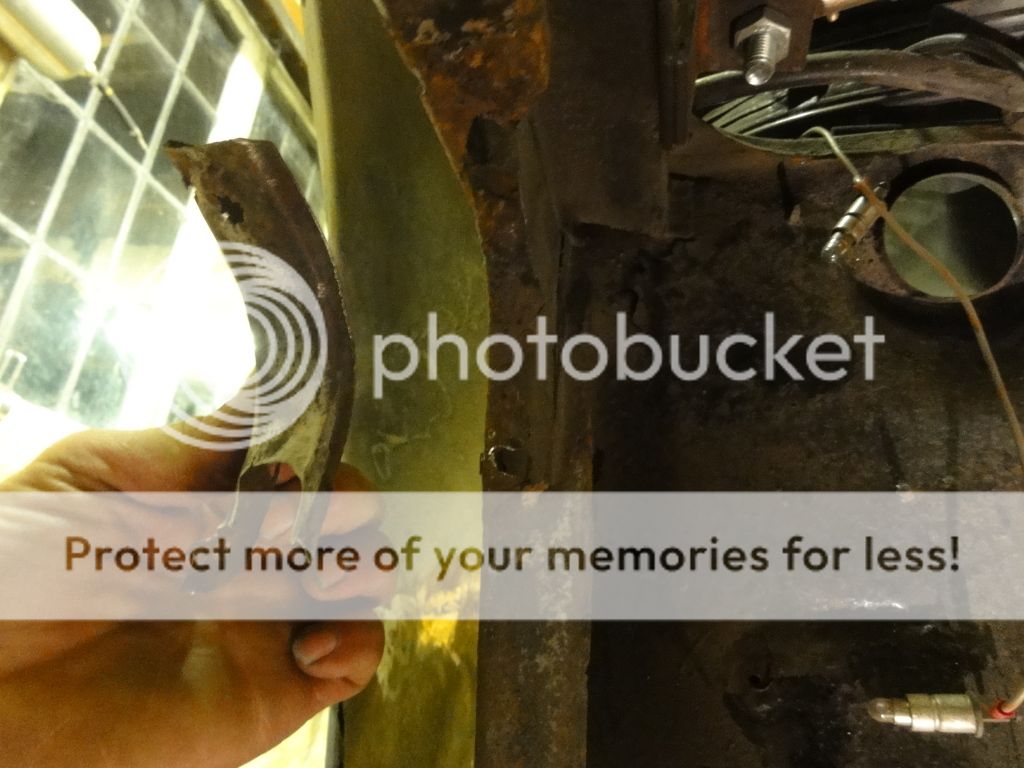
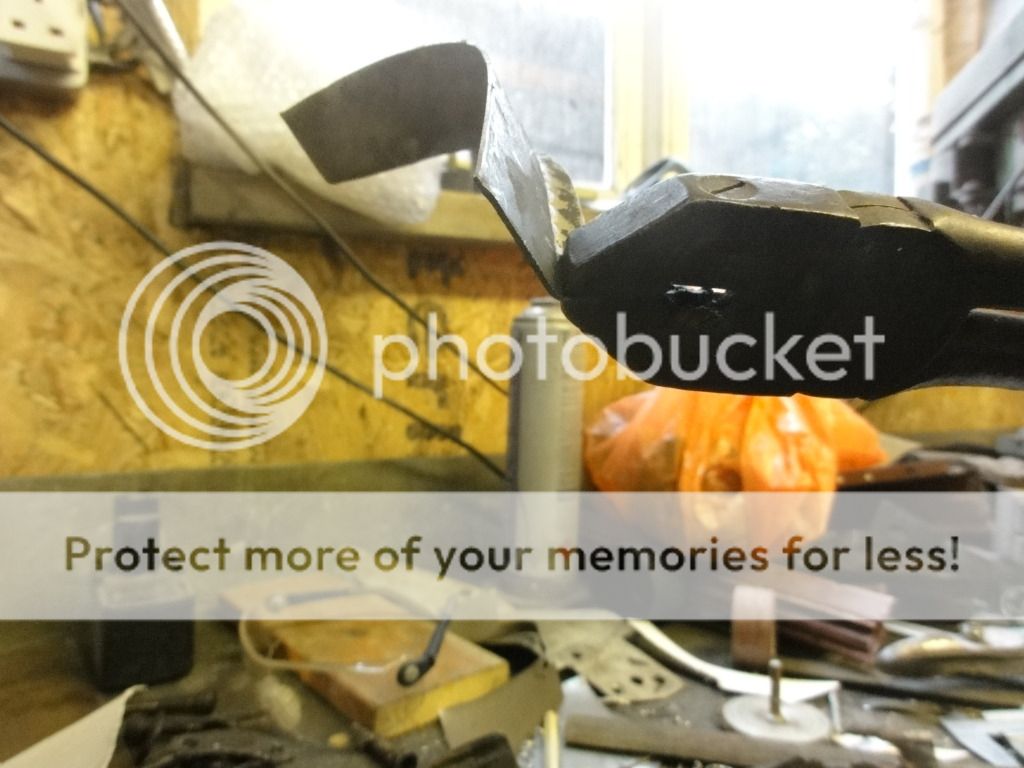
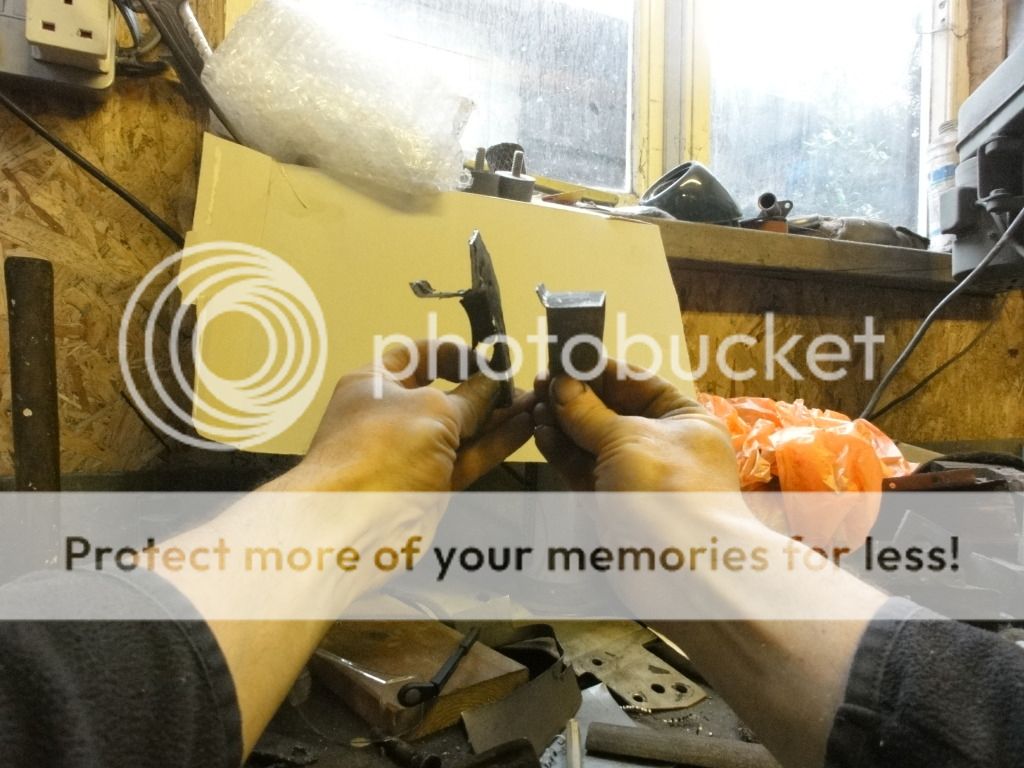
I made a cardboard template and decided it would be easier to make in two bits .I dont have a jenny so its a case of bending with pliers and using whats at hand.

UserPostedImage

UserPostedImage

UserPostedImage

I had to cut most of the surrounding material but seemed easier to get this bit in first.I always give the metal a quick grit blast which is what you can see on the left.
The piece of angle and the tie rod was to pull the left inner wing over but i'll come to that later.

UserPostedImage

As i did some of this a while ago i need to sort some pictures of it finished but here is one of a small repair to the left side which also needed the strengthener.I made the piece to follow the contour of the old one just using snips and a file.

UserPostedImage
Robb
11 years ago
great work! good to see a projects thread rolling! :thumbup:
JD
  • JD
  • pre67vw Junkie
11 years ago
Very impressive stuff.
"John, you need to get a grip and STOP MOANING AT EVERYTHING. ThumbDown "
UserPostedImage
Sunroof53
11 years ago
A few updates.Not much I'm afraid but progress all the same.

Inner wing return lip welded with some finishing left to do.

UserPostedImage


The car has had a bump in the past which had bent the reinforcement panel .it was hardly noticeable but I had trouble getting the bonnet to sit central between the inner wings .i ended up having to remove it which also meant I could reposition everything to line up.

UserPostedImage

This is the area that was bent .Some heat and it soon pulled back into position.i have since had this piece blasted as its awkward to clean up .

UserPostedImage

UserPostedImage


Sunroof53
11 years ago
I had previously done a repair to rectify the chiseling and filler but now the panel was off the it made sense to make a nicer job especially as the metal was heavily pitted with rust .
I am a fan of trying to keep original steel but at the same time I want this car to last and if its rusty there's not much anyone can do but replace it .

This what I had before .looks like an aborted attempt to chisel off the panel and then just filled over.

UserPostedImage

I made up new bit and some more repairs to the body mount .

UserPostedImage

This piece had rusted with the usual signs of separation so I cut a piece out to expose the inner part .A quick blast and a new piece was welded in.

UserPostedImage
Sunroof53
11 years ago
I love to recycle any bits I can and this next part I made from a section of rear quarter I bought for the body mount .i have made up a repair piece for the front inner wing as the curve was just right for the wing mount .The oval shaped hole is the same as the original .

UserPostedImage

I managed to burn through the hole whilst welding the captive nut but I am not to concerned at this stage.Tig welding would have been better but I don't have one at the home place yet .


UserPostedImage


Sunroof53
10 years ago
Some small progress .I had the reinforcment panel blasted and sprayed with a handling primer .i mocked up the panels for fit and photos.I havnt welded anything in place yet as i need to get the front quarters fixed first .


UserPostedImage 
Sunroof53
10 years ago
Here is a little former i made up to put the pressing in for the back seat area repair.Turned out fairly well but as i was doing it based on photos it may not be perfect .


UserPostedImage 

I clamped the sheet metal to the former a slowly chased round with a blunt chisel .

UserPostedImage 


UserPostedImage