tofufi
  • tofufi
  • Regular Topic Starter
15 years ago
Hi all,

54 Gertie has been nagging me to join on here. I was already registered, but somewhat of a lurker before.

This is my '66 ('65 built) bug, which I have owned since the tender age of 16.

UserPostedImage

It was due a restoration, so last summer I took it off the road (still with 10 months MOT on it) to do a bit of work on it.

This is how I aim to make it look.

UserPostedImage

As with all restorations, the first thing I needed to do was strip it down.

UserPostedImage

It isn't a good thing to find you can do this with your bare hands alone...

UserPostedImage

Someone had previously welded the body to the floorpan

UserPostedImage

so a lot of cutting with an angle grinder later gave this...

UserPostedImage

And 'lo, I ended up with this.

UserPostedImage

Before tucking it into the garage for the night.

More updates to come - the pictures above were taken 7 months ago. :)

Sponsor
Log-in to remove these ads
54 Gertie
15 years ago
Hey Jim!

Glad you finally posted after all this time! :wink:

Good luck and long live the stock!

William
tofufi
  • tofufi
  • Regular Topic Starter
15 years ago
Cheers Will :D

Just a bit more...

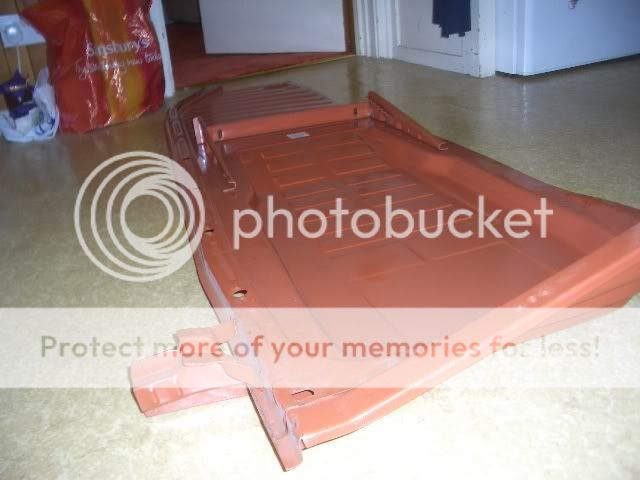
Luckily, I had these nice red floorpans from VW Heritage. Much nicer than the normal repro ones ;)

UserPostedImage

Took me a few weeks to get round to fitting them though, after a few small repairs to the front section. I had only done the framehead bottom 2 or 3 year ago, so that was OK already.

UserPostedImage

UserPostedImage

UserPostedImage


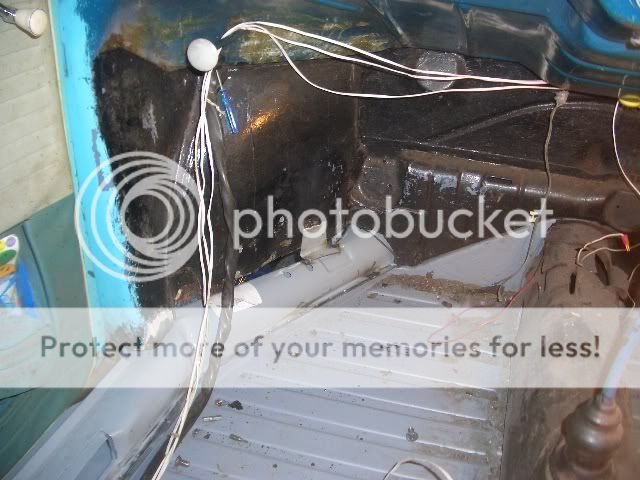
As with any restoration project, the more you dig, the more bodges you find..

UserPostedImage

And the other side was not much prettier.

UserPostedImage

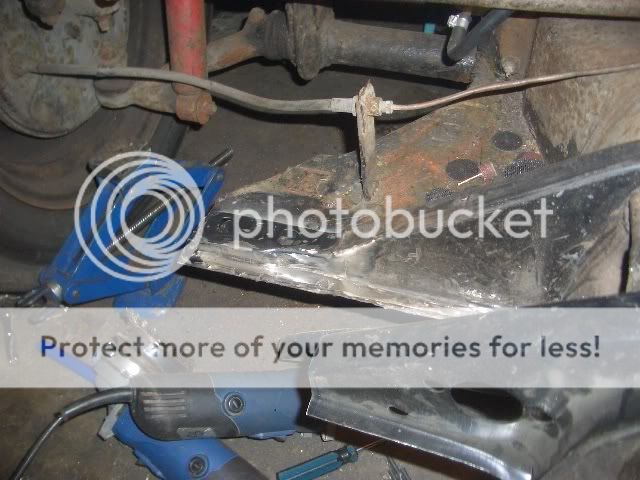
Anyway, work progressed, fitting new channels and rear outriggers. These were all genuine VW Mexican items. I know the pressings are not correct, but compared to the repro channels I bought the quality is in another world. I'd rather have good quality metal even if it means I have the wrong heater vents for the year of car.

UserPostedImage

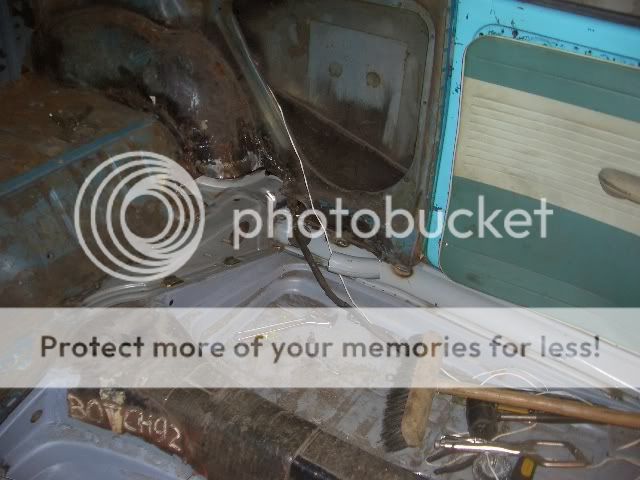
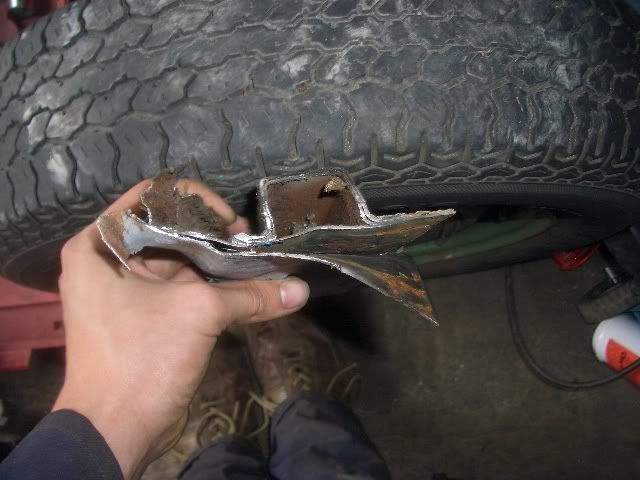
At the front, there was literally no metal worth welding to. Everything was too far gone.

So I had to make brackets to hold it in place until I could start replacing the metal around the channel.

UserPostedImage

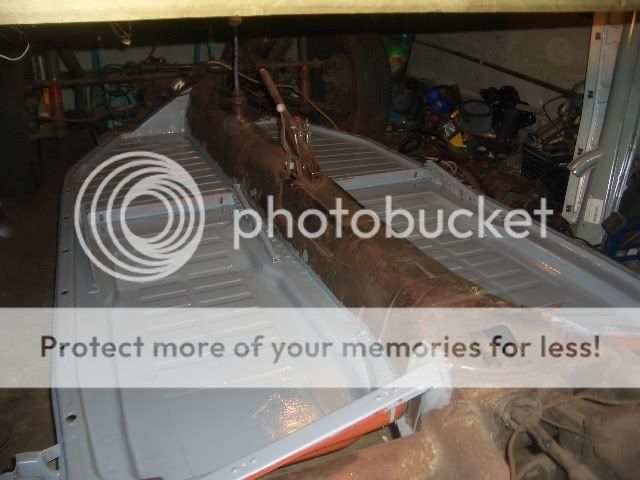
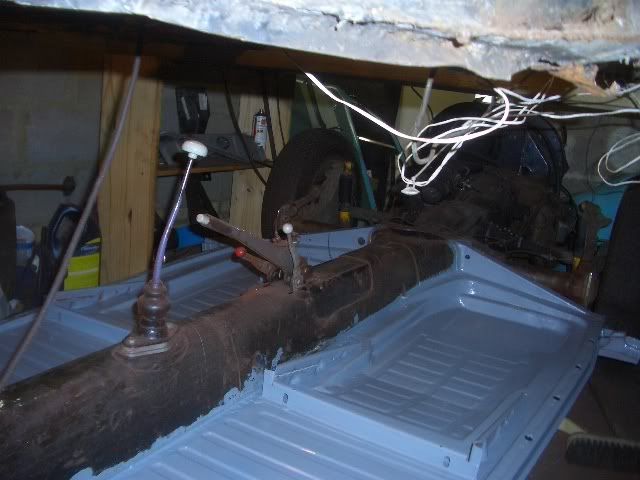
Obviously, getting the doors to fit nicely was a high priority. The bodyshell had been repaired and bodged so badly in the past that it was quite distorted (so I did not brace it when cutting the channels out). After a lot of fiddling, I managed to get things to line up correctly.

UserPostedImage

To do this required removing quite a lot of metal...

UserPostedImage

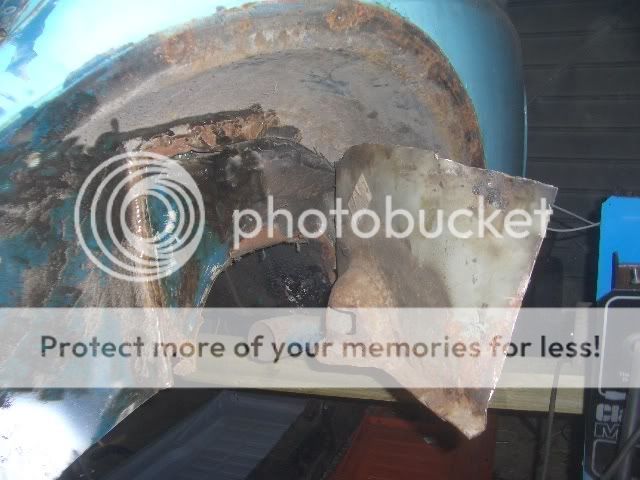
All of the above was either rotten, bodged or both. It had had a front clip put on OVER the original metal.
:shock:

Even the fuel tank support was double layered.

UserPostedImage

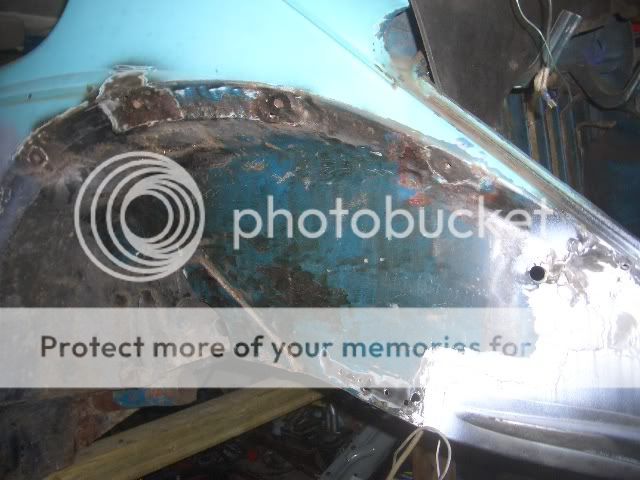
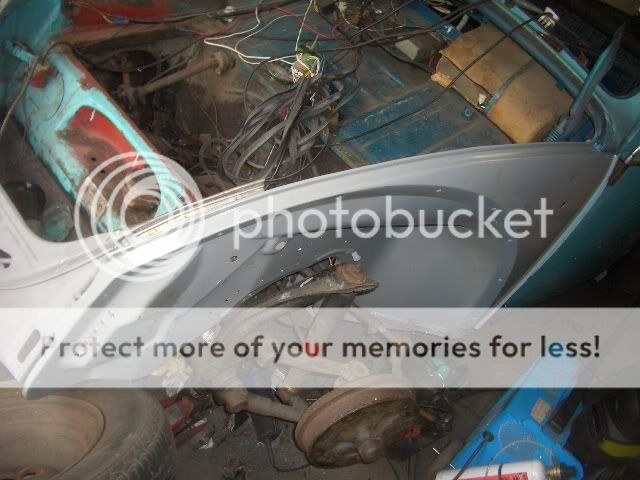
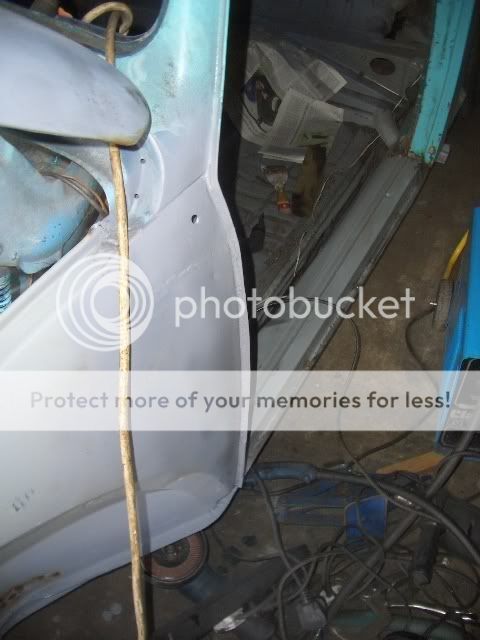
Cue a genuine VW mexico front 1/4 panel.

UserPostedImage

A lot of plug welds enabled me to copy the look of the original spotwelds.

UserPostedImage

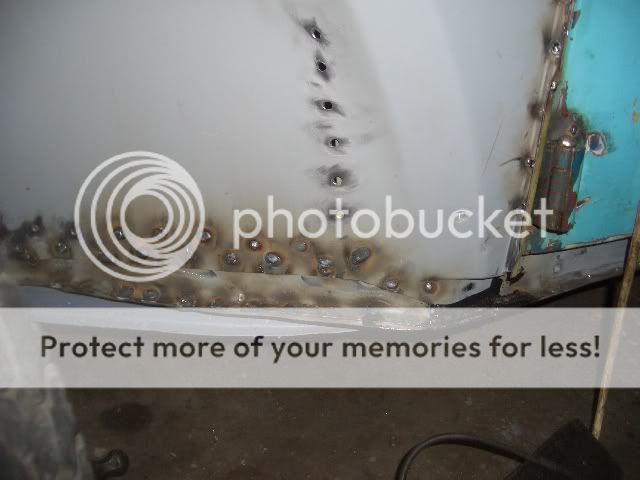
And eventually looks like this when tidied up.

UserPostedImage

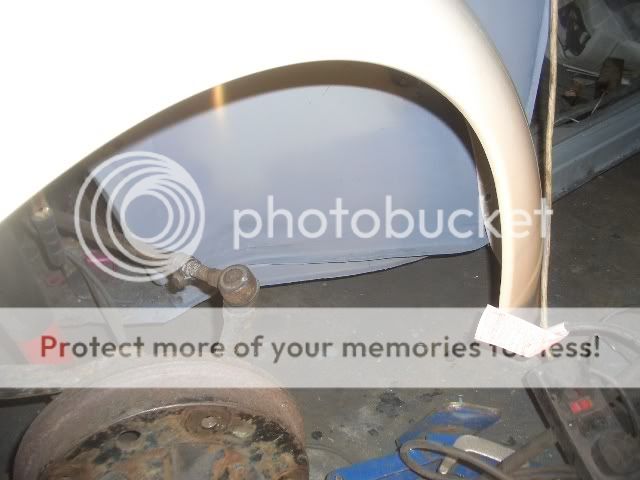
And a new Hookys A pillar bottom completed this area.

UserPostedImage

UserPostedImage

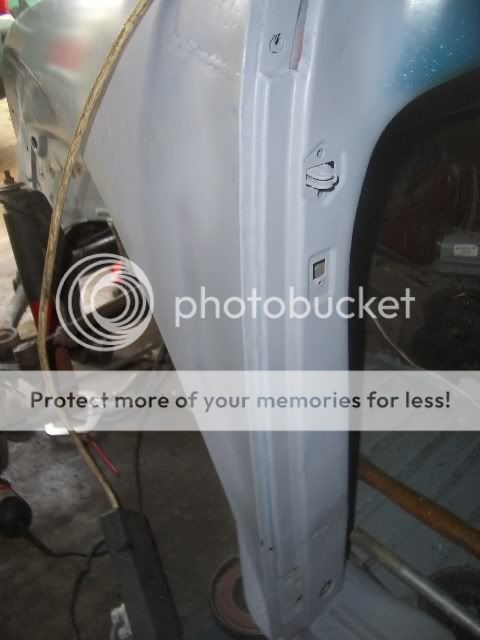
And it lines up well with the bonnet, too :D

UserPostedImage

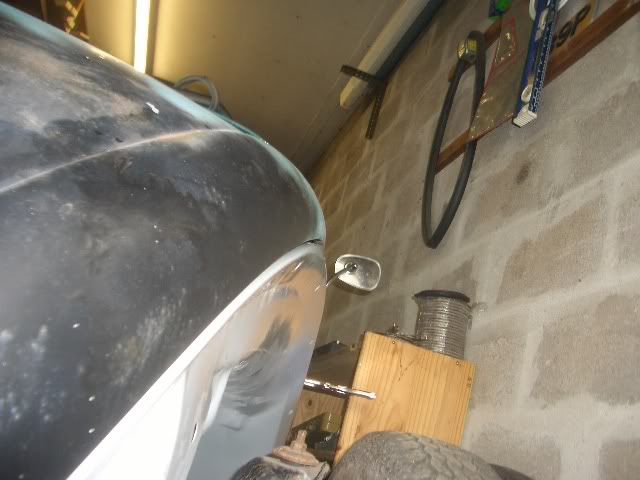
Should only need a tiny bit of lead to get it looking really smooth :wink:

All of the above repairs are just bare metal with a layer of very thin rattle-can primer to keep the damp out.
tofufi
  • tofufi
  • Regular Topic Starter
15 years ago
Just a bit more work that I've done on the car...

Whilst replacing the front 1/4, I also cut out the bulkhead...

UserPostedImage

Which was replaced with a reproduction one (I could not find a NOS or genuine one in good condition).

UserPostedImage

I also cut out the passenger side rear 1/4, which had been the subject of many bodges by previous owners.

UserPostedImage

Welding it below the trimline should keep any distortion to a minimum, and it will be less noticable due to the proximity of the chrome trim.

UserPostedImage

And finished (After a LOT of time spent welding and filing smooth) it looks like this...

UserPostedImage

Spot the join 😉 - this again is without any filler being applied. I intend to use lead filler on the bodywork after using proper bodywork techniques to ensure very little is needed 🙂 .

UserPostedImage

Finally, I welded up the hole in the dashboard where it had been cut for a horrible 1980s cassette player.

UserPostedImage

And with the blanking plate.

UserPostedImage

Again, don't worry, the primer is just to stop moisture getting in, and will all be stripped properly before painting.

All that is left to do now is to do the same to the drivers side, then replace all of the rotten engine bay panels before finding a stock height axle beam and getting it back to standard height. Then it will be painted in the original L360 Sea Blue. :wink:

The aim:

UserPostedImage

:shock:
54 Gertie
15 years ago
That looks great!

Im gonna have a go at bodging together a number plate to look like the original raised letter types! I currently have plastic ones with raised letters but the plastic is very dull and looks to new!:wink: :lol:

Good work!:d


UserPostedImage
William
harveypj
15 years ago
looking good, very satisfying work I'd imagine.
Great to see one having 'mod' reversal for a change rather than becoming a ground scraper
Stock......the new custom
Users browsing this topic